")

In the Pacific Northwest, Mount Adams, at 12,276 feet, is the highest summit attainable via a day hike; however, most people do it as a backpacking trip, stopping overnight at the Lunch Counter (9,400′) and heading up the final leg early the next day. That was our plan for the trip as well, we picked Monday and Tuesday in mid-July, hoping for no crowds, but even in the beginning of work week, the mountain was busy all the time. We signed up with Alpine Accents as they are well known for their skilled and professional mountaineering guides.
One thing I want to say, you don’t need a guide for this climb. It is not technical and if you do enough research, you can attempt the summit yourself. What you will need is moderate backpacking and climbing experience, climbing gear and knowledge how to use crampons and ice axe.
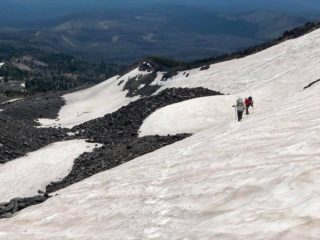
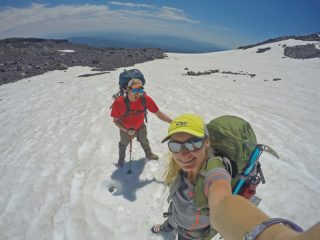
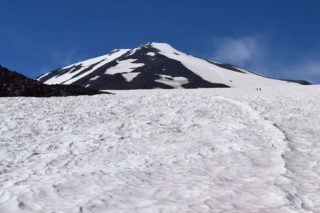
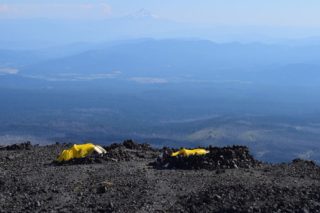
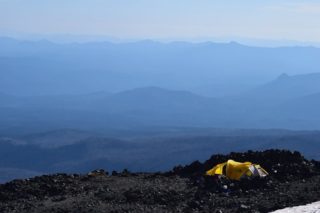
Our adventure started at the South Climb trail head, about one hour northeast from the town of White Salmon in the Columbia River Gorge. The temps in mid-July have been really high and our approach was really hot day. The climb to the Lunch Counter takes few hours from alpine parklands, small wildflower meadows, and rushing streams to large snow field. Before your climb begins, you need to obtain wilderness permit sign-in station. There are several camping spots at the Lunch Coulter, most of them designated campsites with rocks wind breakers around them. We opted for the second campsite we found and started preparing for our dinner and overnight. The weather has been great and the views each direction was just beautiful. South to the gorge and Mt. Hood and north with Mt. Adams and towering false summit of Pikers Peak. There are views south to Mount Hood and Mount Jefferson, the Cold Springs Burn and the Aiken Lava Bed. We spent the rest of the day refreshing our mountaineering skills and self-arrest skills while our guides prepared delicious burrito dinner. After dinner we all sort of disappeared to our tents trying to get some sleep before waking up early for our summit bid.
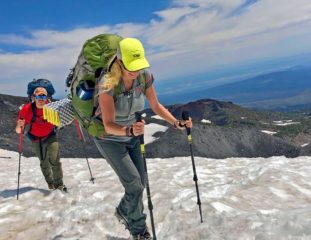
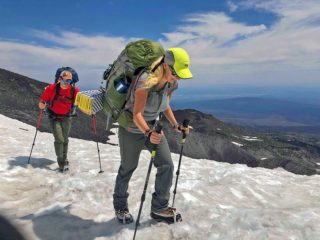
We were woken up around 1am for some hot breakfast and get ready for our climb. It was lot warmer than we thought it will be, low 50’s. We started our summit climb at 2am with crampons on and just two layers on. Important thing for me that I want to enhance is to always climb with less layers. That means that if you stop climbing and relax for a bit you got cold. That is why you carry another warm layer in your backpack and throw it on when you stop for a break or quick bite. That way you will not exhaust and overheat yourself when climbing steep slope of ice!
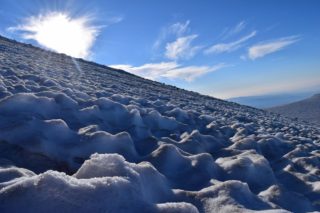
Ok back to our climb. We started in the dark so you don’t really see where you going. You just know you have to get up the steep ice slope of Pikers Peak. We reached the top at sunrise. The ice was hard and there were luckily steps kicked in which was a big help. I felt little bit scared to zig zag at this point as I didn’t feel like I would be able to self-arrest myself in these icy conditions.
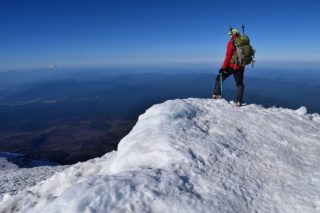
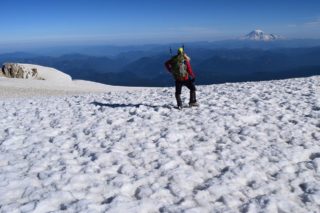
Eventually, you will attain a point where you get a view past the false summit to a saddle and then the final steep pitch, usually all snow, up to the summit itself. The going is much better from here, though, and you may not need crampons. We headed straight up the southern slope of the false summit (Pikers Peak – 11,657’). Then there’s a drop to a saddle, from which a rocky, exposed ridge heads upward steeply, but switch backing in places. The boot path reaches a snowfield at a more gradual pitch.
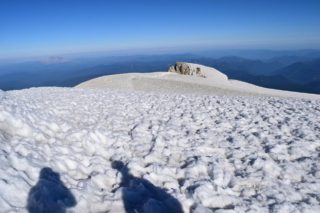
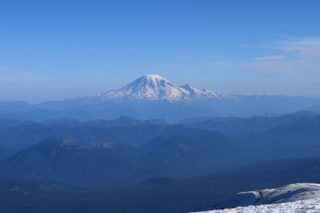
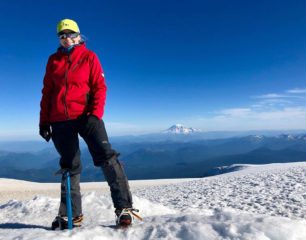
The actual summit area is broad and the views are spectacular, from Mount Baker, Mount Olympus and Glacier Peak in the north down closer to Mount Rainier and Goat Rocks. Then south, one can see past Mount Hood and Mount Jefferson to the Three Sisters, Broken Top, and Mount Bachelor.
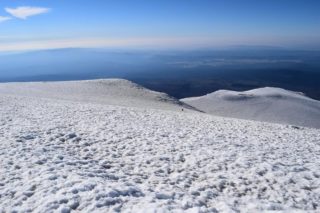
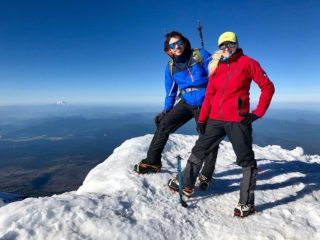
We reached the summit at 8am. It was a glorious day, beautiful, sunny and hot, with blues skies and amazing views in every direction.
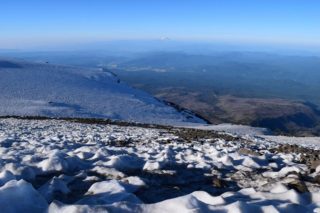
On a bright, sunny day, the return is much easier. The snow is much softer, on steep sections, footholds can be made by plunge stepping. At the top of Suksdorf Ridge, you can look down to the southeast on the Mazama Glacier. We descended using the plunge step down the snowfield on the east side of the ridge if the snow is soft. After getting down the steepest section of Pikers Peak we opted for glissading down to the campsite. The return was a combination of glissading and hiking down. Only glissade if you can dig in your heels to brake, but also remember that a coating of grit on the snow surface could scrape your skin and tear your clothing like sandpaper. Once we got back to our camp we took a short break before packing our tents and other gear and hiked down back to the trail head same way we got up.
WTA Pro Tip: A Cascade Volcano Pass is required May 1st through September 30th for anyone hiking above 7,000 feet, whether or not they are making a summit push. It is $10 for weekday trips and $15 for trips taking place Friday-Sunday. These may be purchased at the Mount Adams Ranger Station in Trout Lake or at the Cowlitz Valley Ranger Station in Randle.
If you won’t be going above 7,000 feet, then only a Northwest Forest Pass (purchase at ranger station) and Wilderness Permit (free, self-issue at trail head) are required.
WARNING: Only experienced hikers should attempt this route. There are no established trails above the Crescent Glacier although, during the busy climbing season, there should be plenty of boot tracks; some of these could be misleading, however. Bring crampons and an ice-ax as the mountain will freeze over most nights, even in the summer. There can be snowfall any month of the year. If the weather turns foul, turn around and live to climb another day. A Cascades Volcano Pass is mandatory and can be obtained from the Mt. Adams Ranger Station at Trout Lake, which also gives strict instructions about dealing with human waste.